How to install SQL Server Express edition 2019
The last several versions of Microsoft’s SQL server have seen the introduction of a number of new features. However, not all users will find these necessary, and many may wish to turn to the more lightweight SQL Server Express instead.
Table of Contents
What Is SQL Server Express
SQL Server Express is a free, lightweight edition of Microsoft’s SQL Server database management system. It is designed for easy deployment and provides core database features, making it suitable for small-scale applications, learning, development, and testing.
SQL Express Installation Guide
To install SQL Server Express Edition 2019, follow these steps:
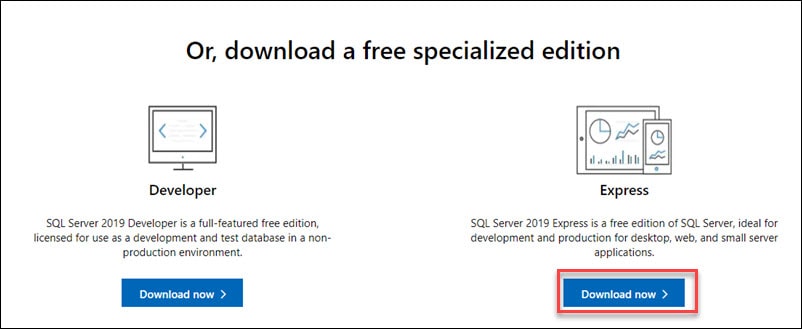
Step 1: Download SQL Server Express
1. Visit the download SQL Server Express page on the official Microsoft website.
2. Scroll down until you find the Express edition of SQL Server 2019.
3. Click Download now to start the download.
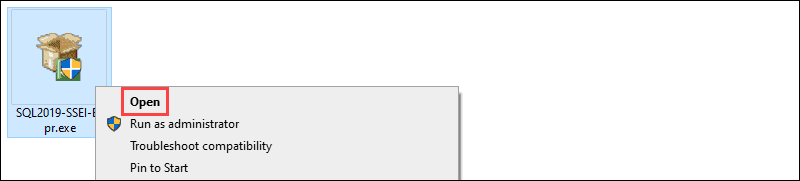
Step 2: Run the Installation
Once the download is complete, open the download folder and find the installation file. Run the file to start the installation process.
Step 3: Choose the Installation Type
1. After starting the install process, you can choose between three installation types.
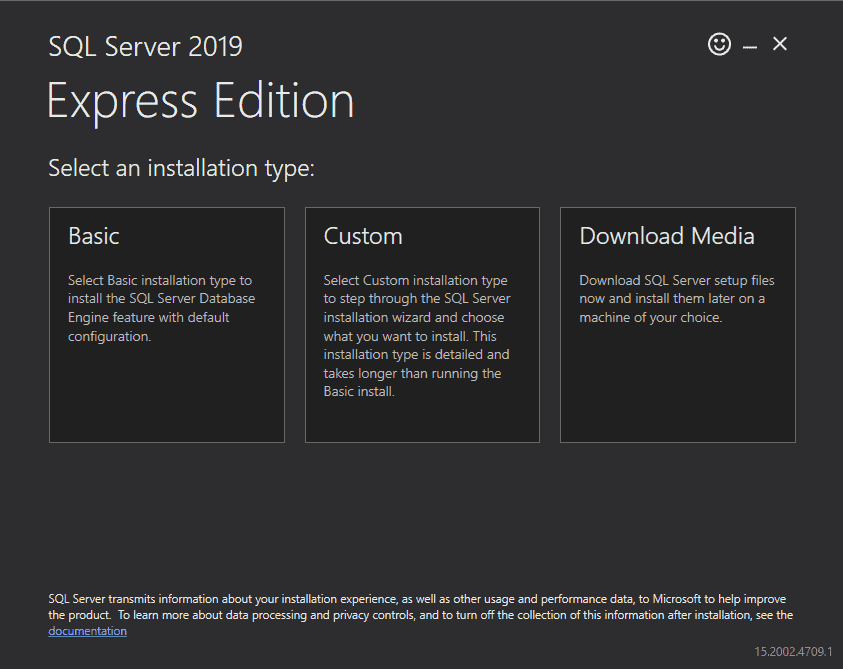
- The Basic installation is the quickest, and it installs the default configuration of SQL Server Database Engine.
- The Custom installation allows you to specify the install location. It also lets you customize which features are installed.
- The Download Media installation lets you download the setup files for an offline installation. You can choose the version of SQL Server Engine you want to download.
2. For this tutorial, we are using the Custom installation type. Click the center tile to choose this option.

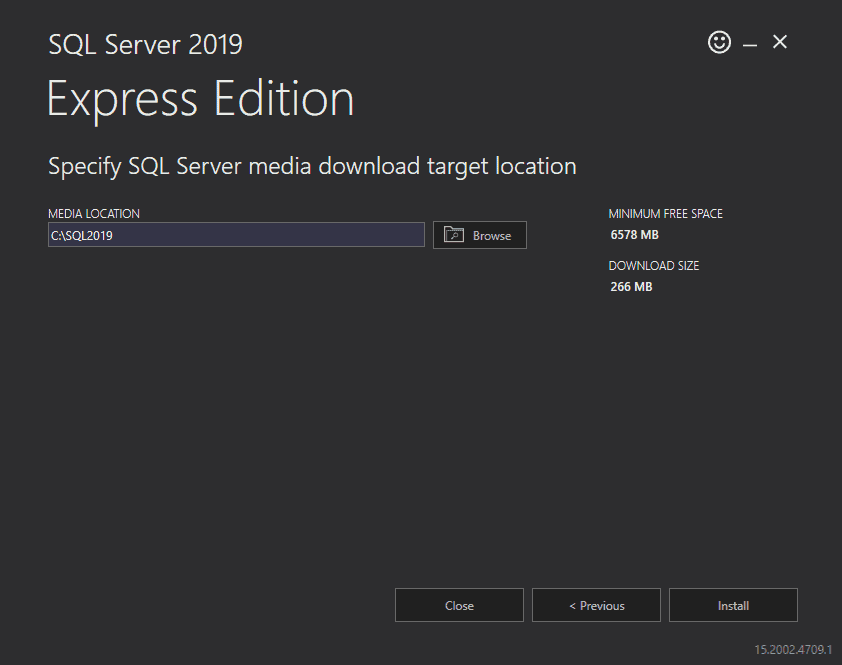
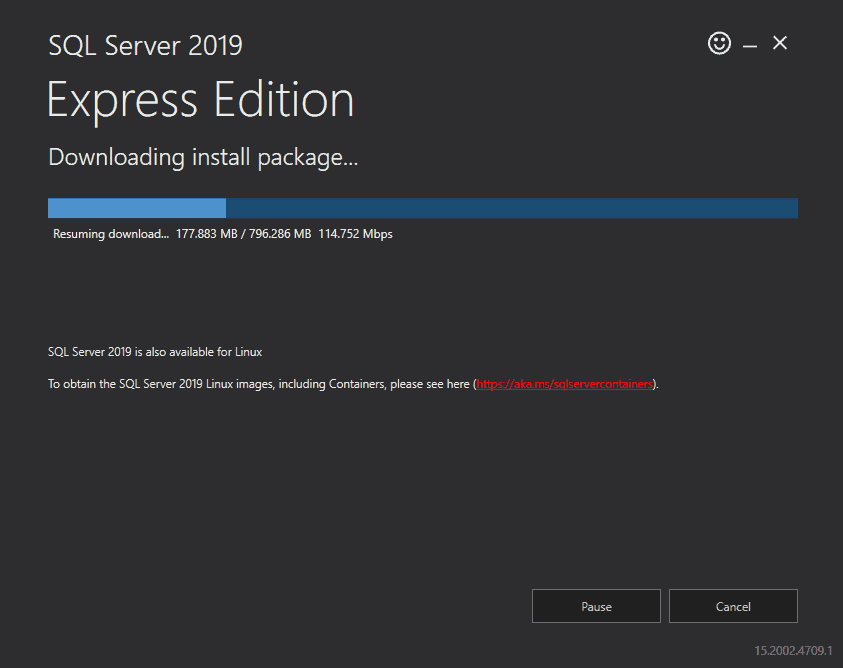
3. Specify the install location and click Install to start downloading the setup files.
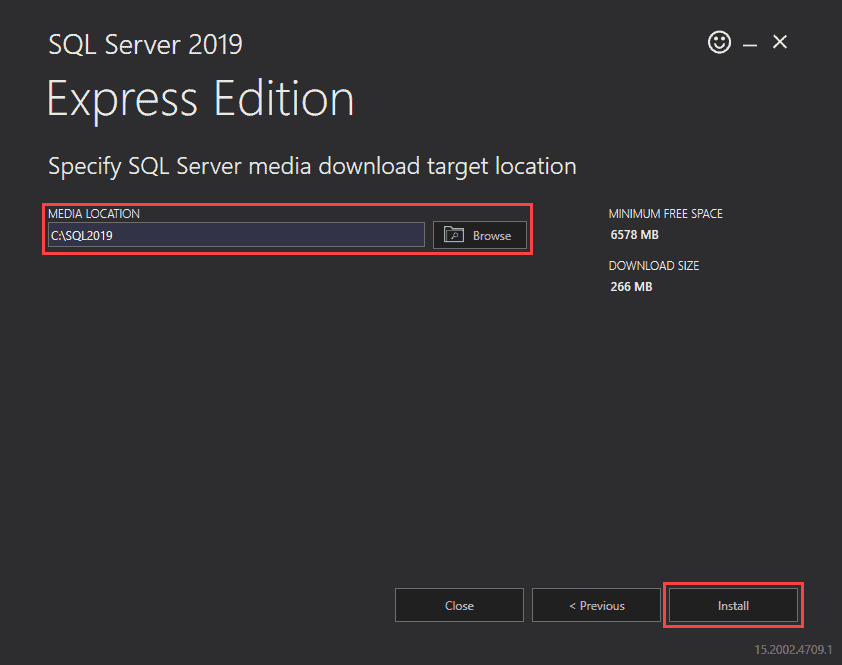
Depending on your download speed, this process might take some time.
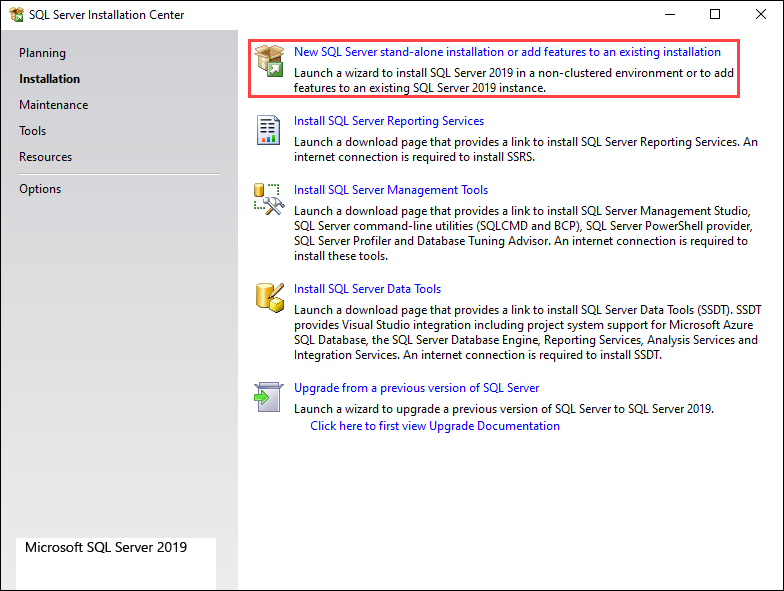
Step 4: Follow the Screens to Install SQL Server Express
Once the wizard is done downloading the install package, it opens the SQL Server Installation Center. This window offers an array of different tools used to install and manage your SQL server.
1. Select the New SQL Server stand-alone installation or add features to an existing installation option to start the install process.
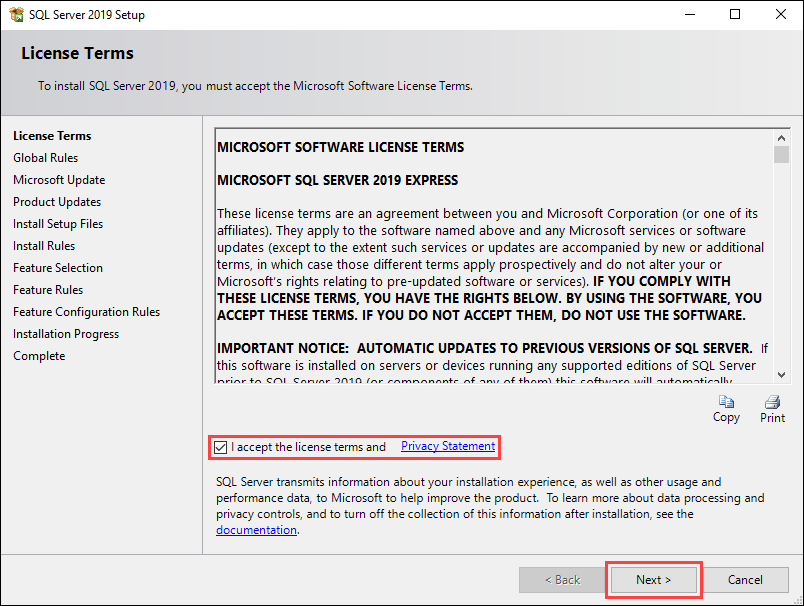
2. The following screen gives you an overview of the SQL Express Server license terms. Check the box next to I accept the license terms and Privacy Statement and click Next to continue.
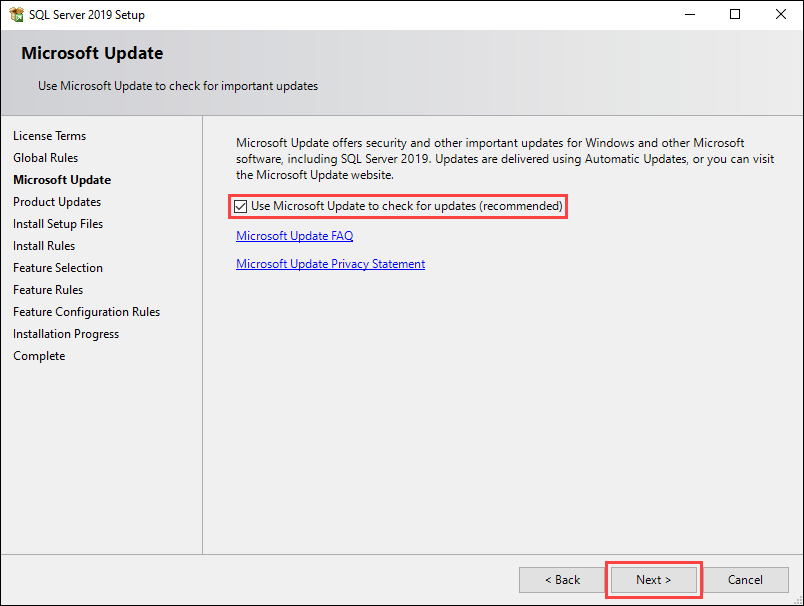
3. Check the box next to Use Microsoft Update to check for updates to include updates to SQL Server 2019 in the scheduled Windows updates. Click Next to continue.
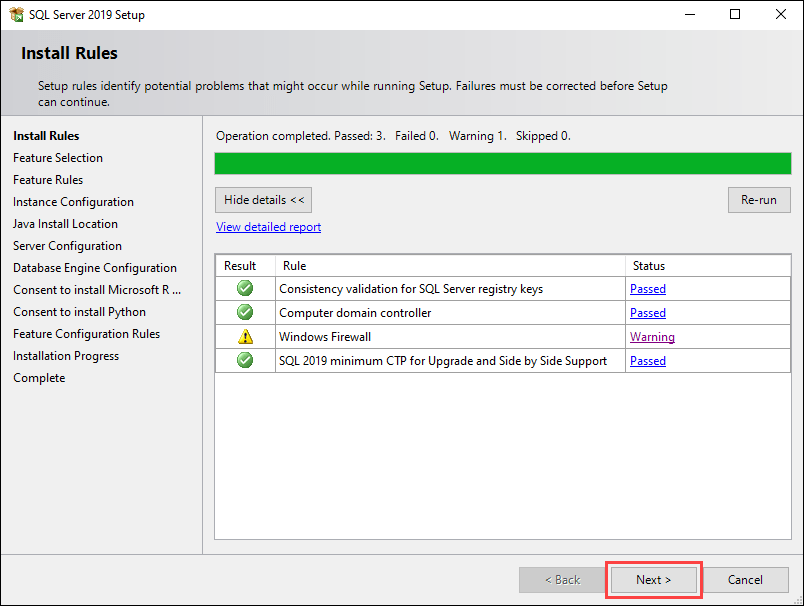
4. The Install Rules screen helps identify potential problems with the installation. Any entries showing a Failed status must be resolved before you proceed with the installation. If there are no failed entries, click Next to continue.
5. On the Feature Selection screen, check the boxes in the Features section to choose which elements of SQL Server 2019 to install, and define the install directories. Click Next to continue.

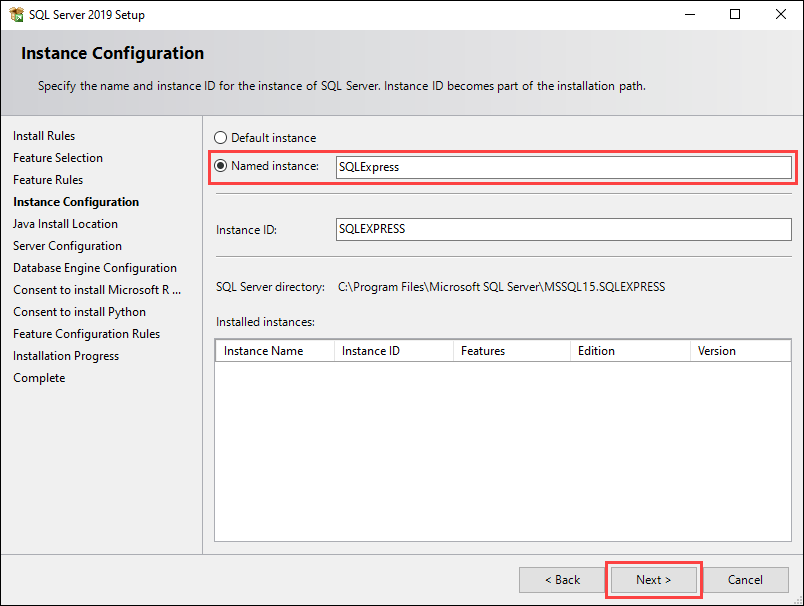
6. The Instance Configuration screen lets you choose between the default and custom instance names. For this tutorial, we are using the Named instance option and keeping the default suggested names. Click Next to continue.
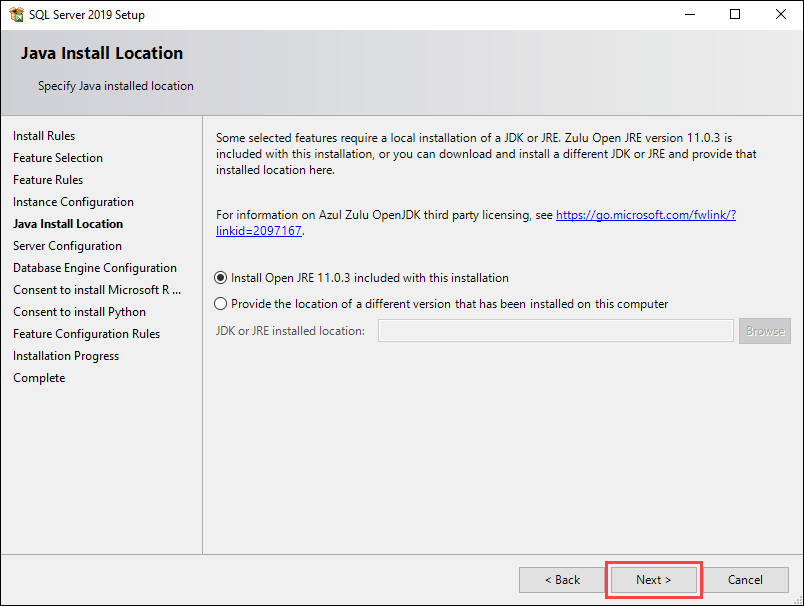
7. The following screen lets you install Java with the current installation or specify a path if you already have it installed. Click Next to continue.
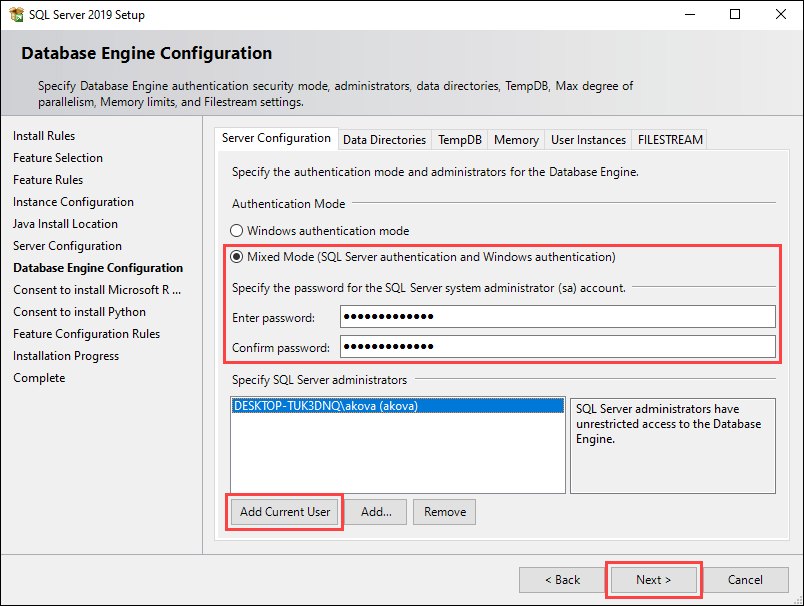
8. The Database Engine Configuration screen lets you specify the authentication mode for your SQL server. For this tutorial, we are using the Mixed Mode option and adding the current user as an administrator. Click Next to continue.
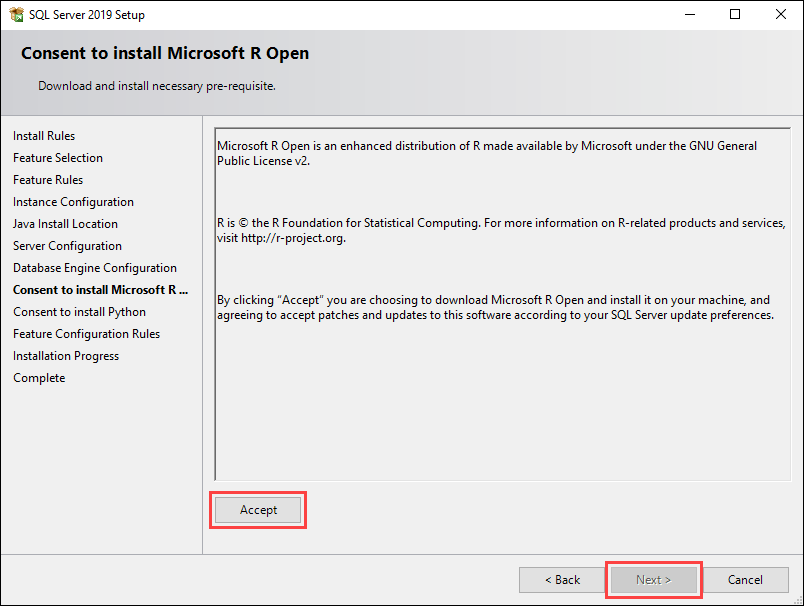
9. The next two screens require you to consent to installing Microsoft R Open and Python, respectively. Click Accept and Next on both to continue.
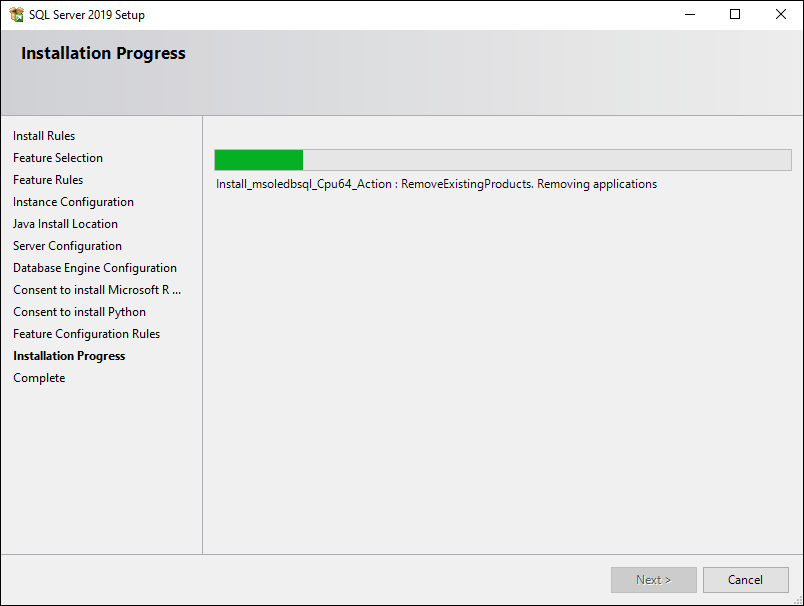
The following screen displays the current installation progress.
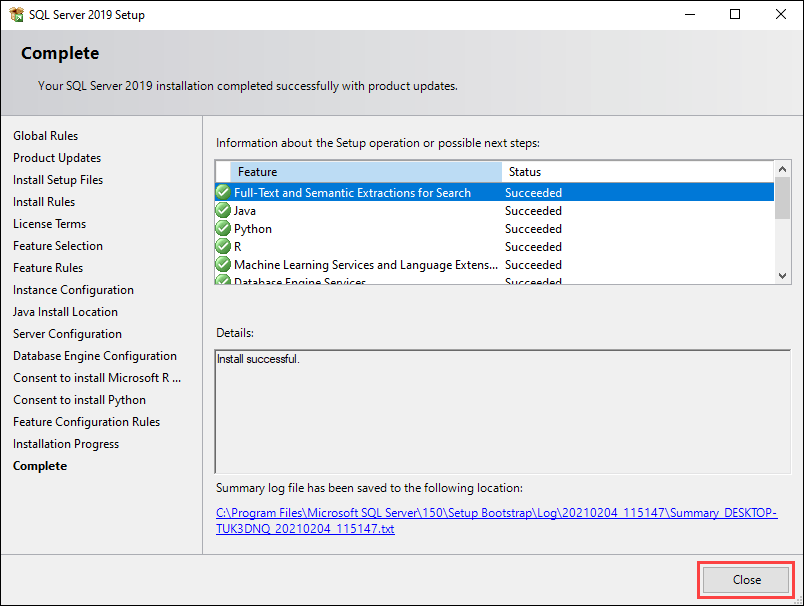
10. Once the installation is complete, the new screen displays an overview of the installed features. Click Close to finish the installation.
Step 5: Test connection to SQL Server Express
There are two ways to test your connection to SQL Server Express:
- Using the SQL Server Management Studio.
- Using the command prompt.
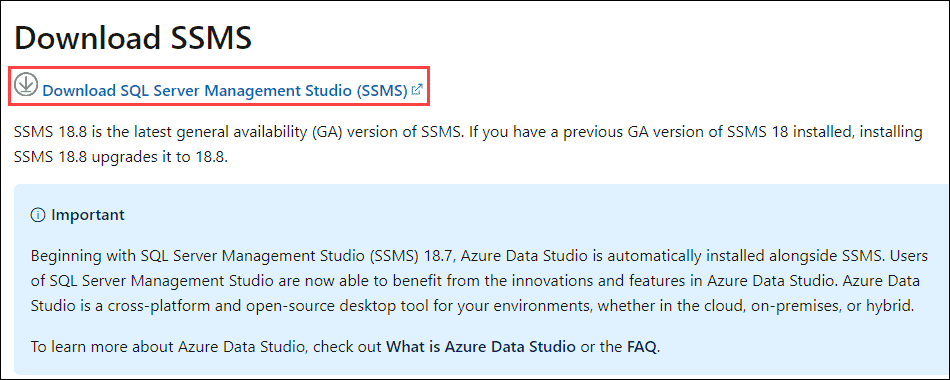
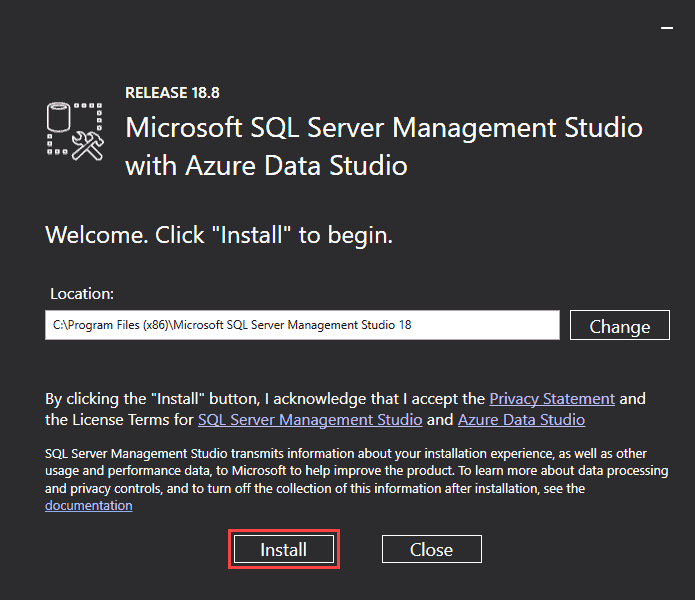
1. Start by downloading the SQL Server Management Studio. Scroll down to the Download SSMS section and use the provided link.
2. Open the installation file and click Install to start the setup.
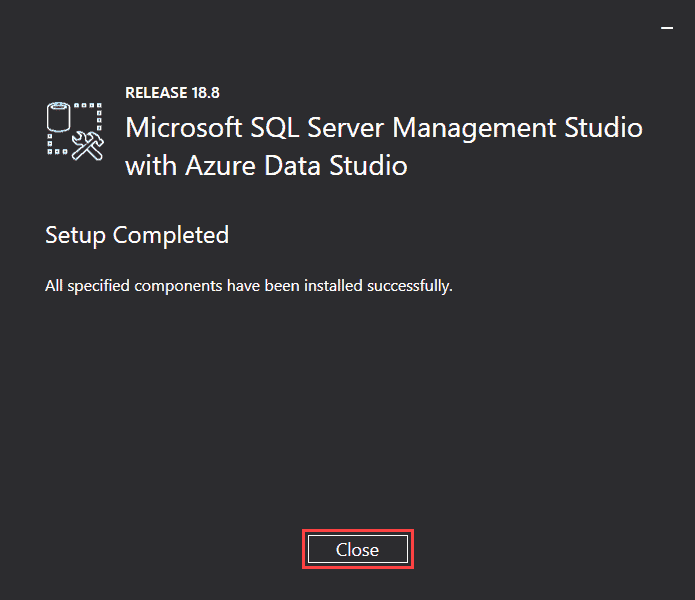
3. Once the setup is complete, click Close to exit.
4. Run SQL Server Management Studio.
5. In the login window, choose the SQL Server Authentication option and use the default Login (sa) and the password you set up during the SQL Server 2019 setup.
6. Click Connect to try to connect to the server.
If the login window closes without any issues and you have access to the SQL Server Management Studio main window, this means the connection works properly.
If the login window closes without any issues and you have access to the SQL Server Management Studio main window, this means the connection works properly.

8. Another way to test the connection to the server is to use the following commands in the command prompt:
sqlcmd -S [computer name]\SQLEXPRESS
select @@version
go